Unlocking the Sweet Secret: The Art of Homemade Chocolate Shell
There’s something undeniably magical about a perfectly crisp chocolate shell. That satisfying snap as you crack into a hardened layer of chocolate, revealing the creamy delight beneath – it’s a simple pleasure that elevates any dessert. While store-bought versions have long been a pantry staple, mastering your own homemade magic chocolate shell is surprisingly easy, incredibly rewarding, and allows for endless customization. Forget stabilizers and artificial flavors; with just two key ingredients, you can create a pourable topping that transforms into a brittle candy shell upon contact with anything cold. This comprehensive guide will dive deep into the essential ingredients, optimal storage methods, and expert tips to ensure your homemade chocolate shell is always a showstopper.
The Essential Ingredients: Crafting Your Perfect Chocolate Shell Base
The beauty of homemade chocolate shell lies in its simplicity. You only need two components, but choosing the right ones makes all the difference for flavor, texture, and that coveted snap. Understanding the role each ingredient plays is crucial to achieving a professional-quality finish.
Chocolate: Quality and Type Matter
While any chocolate can technically melt, not all chocolates are created equal when it comes to forming a stable, snapping shell. Your choice of chocolate significantly impacts the final taste and consistency:
- Baking Chocolate vs. Chocolate Chips: Our top recommendation for a superior chocolate shell is baking chocolate (often found in bars or blocks). Baking chocolate typically has a higher cocoa butter content and fewer stabilizers than standard chocolate chips. Stabilizers in chocolate chips are designed to help them hold their shape when baked, which can make them more resistant to a smooth, uniform melt and a truly brittle snap when hardened. If you must use chocolate chips, opt for high-quality ones that are explicitly designed for melting, often labeled as "couverture" or "callets." Chopping your chocolate bar into small, uniform pieces will also help it melt more evenly and quickly.
- Cocoa Percentage: The cocoa percentage of your chocolate will dictate the intensity of the flavor. Dark chocolate (60% cocoa or higher) will yield a richer, more sophisticated shell, while milk chocolate will offer a sweeter, creamier profile. Semi-sweet chocolate is often a popular middle-ground choice, appealing to most palates. Experiment to find your personal preference!
- Flavor Profiles: Beyond standard dark, milk, or white chocolate, consider flavored chocolates. Mint, orange, or even chili-infused chocolate can add an exciting twist to your shell, creating unique culinary experiences.
Coconut Oil: The Magic Solidifier
Coconut oil is the true hero of the chocolate shell. Its unique properties are what give the topping its "magic":
- The Science Behind the Snap: Coconut oil has a relatively low melting point, typically around 76°F (24°C). Above this temperature, it's liquid and pourable. Below it, however, it solidifies rapidly. When warm, melted coconut oil is combined with chocolate and then poured over a freezing cold dessert, the rapid drop in temperature causes the coconut oil to instantly solidify, taking the chocolate with it and creating that hard, brittle shell. To delve deeper into this fascinating process, check out our article: Why Your Chocolate Shell Hardens: Science & Sweet Uses.
- Refined vs. Unrefined: This is a critical distinction. Refined coconut oil is highly recommended for chocolate shell recipes. It has a neutral flavor and aroma, allowing the pure chocolate taste to shine through. Unrefined (virgin) coconut oil, on the other hand, retains a distinct coconut flavor and aroma, which can overwhelm and detract from the chocolate, especially if you're not specifically aiming for a chocolate-coconut combination.
- Ratio is Key: While the exact ratio can vary slightly by recipe, the general principle is to have enough coconut oil to ensure quick solidification without making the shell too oily or soft. A common starting point is roughly 1 tablespoon of coconut oil per 2 ounces of chocolate. Adjust slightly based on the type of chocolate and your desired snap and consistency.
Mastering the Melting Process: Tips for a Silky Smooth Chocolate Shell
Achieving a perfectly smooth, lump-free chocolate shell is essential for both aesthetics and taste. Gentle heat and consistent stirring are your best friends here.
- Double Boiler Method (Recommended): This indirect heating method is ideal for melting chocolate, as it prevents scorching and ensures an even melt.
- Fill a saucepan with about an inch or two of water and bring it to a gentle simmer (don't let it boil vigorously).
- Place a heat-safe bowl (glass or stainless steel) over the saucepan, ensuring the bottom of the bowl does not touch the water.
- Add your chopped chocolate and refined coconut oil to the bowl.
- Stir continuously with a rubber spatula or whisk until the mixture is completely melted and smooth. Remove from heat as soon as it's fully melted to prevent overheating.
- Microwave Method (Quick & Easy): While faster, the microwave requires more vigilance to prevent burning.
- Combine chopped chocolate and refined coconut oil in a microwave-safe bowl.
- Microwave on medium power (50-60%) in 20-30 second intervals.
- Stir thoroughly after each interval. Chocolate retains its shape even when melted, so stirring is crucial to assess consistency and distribute heat.
- Continue microwaving and stirring until the mixture is completely smooth. Be careful not to overheat.
Once melted, your chocolate shell is ready to be poured directly over cold desserts or transferred to a container for later use.
Storage & Longevity: Keeping Your Homemade Chocolate Shell Fresh
One of the great advantages of homemade chocolate shell is its impressive shelf life and ease of storage. Properly stored, you can have this delightful topping ready at a moment's notice for weeks.
- Room Temperature Reign: The ideal storage solution for your homemade chocolate shell is at room temperature. Because of the coconut oil's properties, the mixture will remain liquid and pourable at typical room temperatures (above 76°F or 24°C). Store it in an airtight jar or container in your pantry for up to one month. This makes it incredibly convenient, as it's always ready to use without any extra steps. If your pantry tends to get quite warm, you might notice it becoming very thin, but it will still harden just fine when poured over something cold.
- Refrigerated Storage (With a Catch): You can store chocolate shell in the refrigerator, but be aware that it will solidify due to the cooler temperatures. If you choose this method, simply microwave the sealed jar for about 20-30 seconds (or longer, depending on the quantity and fridge temperature) or place the jar in a bowl of warm water for a few minutes to gently re-melt it until it’s pourable again before each use. Stir well after re-melting to ensure a uniform consistency.
- Signs of Spoilage: While it's rare for chocolate shell to spoil quickly given its ingredients, always inspect it before use. Look for any unusual odors, mold, or extreme oil separation that doesn't resolve with stirring. If stored correctly, it should remain fresh and delicious for weeks. Remember, its long shelf life is thanks to the stability of chocolate and coconut oil.
Beyond the Scoop: Creative Uses for Your Homemade Chocolate Shell
While an ice cream sundae is the classic canvas for this magical topping, your homemade chocolate shell is incredibly versatile. Once you have a jar in your pantry, you'll find endless opportunities to add a delicious, crunchy chocolate layer to various treats.
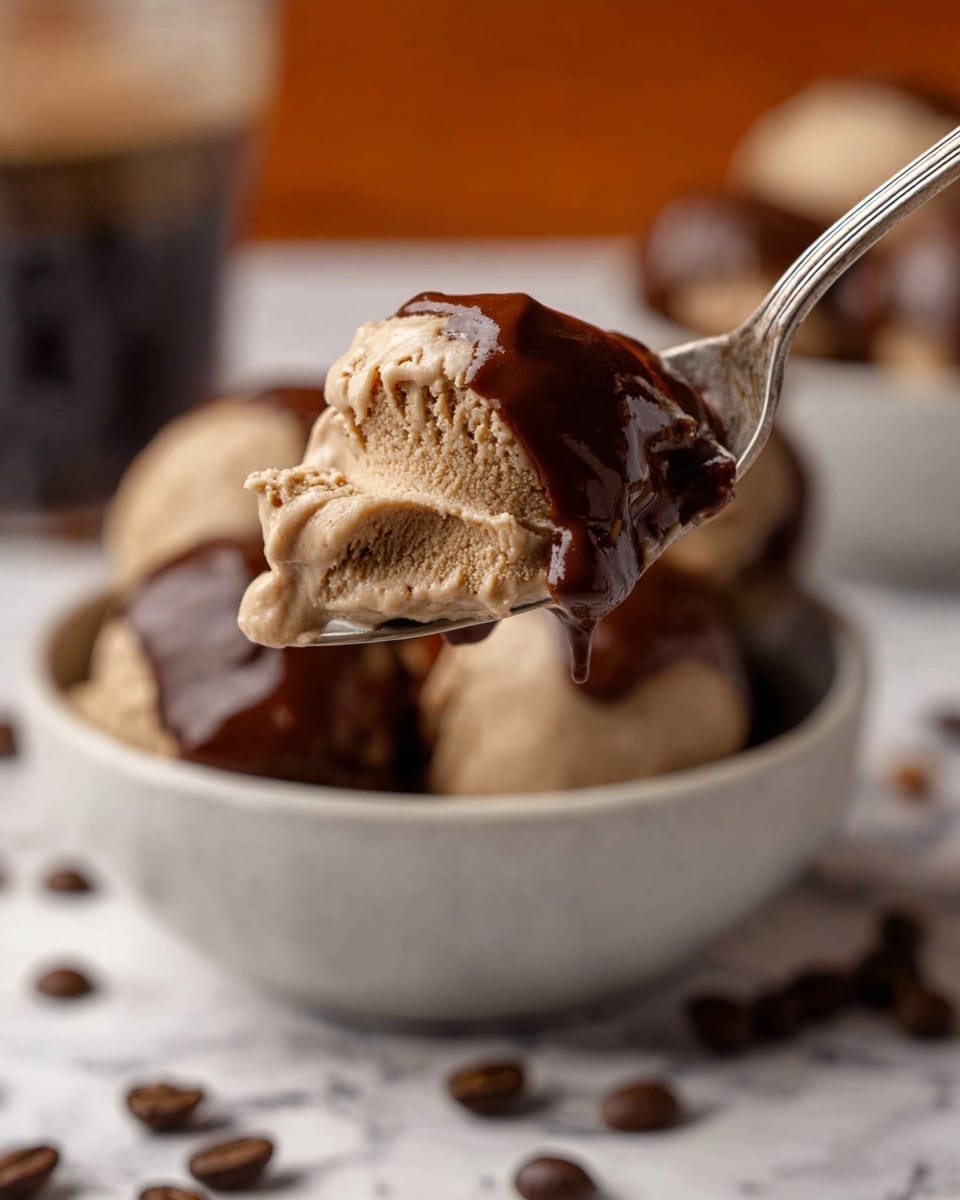
- Classic Ice Cream & Milkshakes: The most obvious and delightful use. Pour generously over a scoop of vanilla, chocolate, or any flavor of ice cream for an instant candy shell experience. It also works wonders swirled into cold milkshakes or drizzled over iced coffees, adding texture and flavor.
- Hand-Dipped Delights: Take your desserts up a notch by hand-dipping.
- Ice Cream Cones & Bars: Dip the top of an ice cream cone or an entire homemade ice cream bar for a professional, chocolate-coated finish.
- Frozen Fruit: Strawberries, banana slices, and even grape clusters become elevated treats when dipped in chocolate shell and allowed to harden.
- Pretzels & Cookies: For a salty-sweet crunch, dip pretzels, graham crackers, or shortbread cookies. Lay them on parchment paper to set completely.
- Decorative Elements: Use your chocolate shell to create unique garnishes. Drizzle it onto parchment paper in intricate patterns, let it harden for a few minutes in the fridge, and then peel it off to use as edible decorations for cakes, cupcakes, or plated desserts.
- Infused Flavors: Get creative by adding extracts or zests to your melted chocolate shell before pouring. A few drops of peppermint extract, a dash of orange zest, a pinch of instant espresso powder, or even a teaspoon of smooth peanut butter (for a "chocolate peanut butter shell") can transform the flavor profile. Just remember to add these *after* the chocolate and coconut oil are fully melted and blended.
Conclusion
Crafting your own chocolate shell is a simple yet profoundly satisfying kitchen endeavor. With just two quality ingredients – the right chocolate and refined coconut oil – you can create a versatile, delicious topping that brings a touch of magic to any cold dessert. From the satisfying snap on your ice cream to the endless possibilities for dipping and decorating, understanding the ingredient secrets and mastering storage will ensure your homemade shell is always a success. So, ditch the store-bought bottles and embrace the joy of creating this culinary marvel right in your own kitchen. Your taste buds (and your guests) will thank you!
