Transform ordinary desserts into extraordinary treats with the undeniable allure of a crunchy, sweet coating. Imagine pouring a rich, glossy liquid over your favorite ice cream, only for it to instantly solidify into a brittle, satisfyingly snappy chocolate shell. This isn't store-bought wizardry; it's the magic of a homemade chocolate shell, and astonishingly, it requires just two simple ingredients. Say goodbye to expensive toppings and hello to an effortless, customizable delight that will elevate your sundaes, milkshakes, and frozen fruits to gourmet status. Get ready to unlock the secret to this beloved confectionery trick and make your own delectable chocolate shell right in your kitchen.
The Enchanting Science Behind Your Magic Chocolate Shell
The "magic" in our homemade chocolate shell isn't a trick of the eye but a fascinating interplay of temperature and chemistry, primarily thanks to one star ingredient: coconut oil. Unlike traditional chocolate sauces that remain gooey and soft, this recipe leverages the unique properties of coconut oil to create that iconic hard shell. Coconut oil has a melting point that is relatively low, typically around 76°F (24.4°C). Above this temperature, it’s a clear, pourable liquid. Below it, however, it becomes a solid. This characteristic is precisely what makes your chocolate shell so effective.
When you gently heat your chosen chocolate with coconut oil, the mixture becomes a smooth, pourable liquid. But here’s where the magic truly happens: as soon as this warm, liquid chocolate shell comes into contact with anything cold – be it a scoop of frosty ice cream, a chilled banana, or an icy beverage – the temperature drops below coconut oil's solidification point. The coconut oil instantly firms up, carrying the chocolate with it, to create a brittle, solid coating. This rapid transformation is what gives you that delightful snap when you dig in, mimicking the experience of eating a chocolate-covered ice cream bar. Understanding this basic principle not only demystifies the process but also empowers you to create perfect chocolate shells every time. For a deeper dive into this fascinating phenomenon, explore Why Your Chocolate Shell Hardens: Science & Sweet Uses.
Choosing Your Duo: Ingredients for the Perfect Chocolate Shell
The beauty of this recipe lies in its simplicity, but selecting the right two ingredients is paramount to achieving that perfect texture and flavor. Don't underestimate the power of thoughtful ingredient choice.
Chocolate: The Heart of Your Shell
- Type Matters: While chocolate chips are convenient, many brands contain stabilizers (like soy lecithin) that are designed to help them hold their shape during baking. These stabilizers can make melting less smooth and the final shell less brittle. For the absolute best results, opt for baking chocolate bars or high-quality chocolate feves. These typically melt more consistently and yield a smoother, glossier finish.
- Flavor Profile: Don't limit yourself! A classic semi-sweet or dark chocolate provides a rich, intense flavor that pairs beautifully with most desserts. However, feel free to experiment with milk chocolate for a sweeter, creamier shell, or even white chocolate for a different aesthetic and flavor base (though ensure it's high-quality to avoid a waxy texture).
- Quality Over Quantity: Since there are only two ingredients, the quality of your chocolate will significantly impact the final taste. Invest in a chocolate you genuinely enjoy eating on its own.
Coconut Oil: The Magic Ingredient
- Refined vs. Unrefined: This is a crucial distinction for your chocolate shell. Refined coconut oil is your best friend here. It has a neutral flavor, allowing the chocolate's rich taste to shine through without any tropical notes. Unrefined (or virgin) coconut oil, while excellent for other culinary uses, carries a distinct coconut aroma and flavor that can easily overwhelm and clash with your chocolate. Always check the label!
- Consistency: At room temperature, good quality coconut oil should be solid or semi-solid, depending on the ambient temperature. This is key to its hardening function.
- Measurement: Precise measurements of both chocolate and coconut oil are important for the ideal pourable consistency and snap. A common ratio is around 1 part coconut oil to 2 parts chocolate by weight, but this can be adjusted slightly based on the specific chocolate used and your desired thickness.
Crafting Your Homemade Chocolate Shell: An Easy Step-by-Step Guide
Ready to bring this magic to life? The process is incredibly simple, ensuring you'll have a batch of this fantastic chocolate shell ready in minutes. We'll cover two primary melting methods, allowing you to choose what works best for your kitchen setup.
Method 1: The Classic Double Boiler
This method offers gentle, even heat, making it ideal for melting chocolate without scorching. It’s perfect for ensuring a silky-smooth finish.
- Prepare Your Setup: If you have a dedicated double boiler, great! If not, create one by placing a heat-safe glass or metal bowl over a pot of simmering water. Ensure the bottom of the bowl does not touch the water.
- Combine Ingredients: Add your chopped chocolate (or high-quality chocolate chips) and refined coconut oil to the top bowl.
- Melt Gently: Heat the water in the pot over medium-low heat. As the water simmers, the steam will gently heat the bowl above. Stir the chocolate and coconut oil regularly with a heat-resistant spatula until completely melted and smooth. Be patient and keep the heat low to prevent scorching or seizing.
- Watch for Water: Crucially, ensure no water or steam gets into your chocolate mixture, as even a tiny drop can cause it to seize and become grainy.
Method 2: The Microwave Method (For Convenience)
For a quicker option, especially if you're making a smaller batch, the microwave is your friend. Precision is key here to avoid burning the chocolate.
- Combine in Microwave-Safe Bowl: Place your chopped chocolate and refined coconut oil into a microwave-safe bowl.
- Heat in Intervals: Microwave on 50% power for 30-second intervals. After each interval, remove the bowl and stir thoroughly, even if the chocolate doesn't appear to be fully melted. The residual heat will continue the melting process.
- Achieve Smoothness: Continue microwaving and stirring until the mixture is completely smooth and free of lumps. This typically takes 1-2 minutes total, depending on your microwave's wattage and the quantity of chocolate. Overheating will burn the chocolate!
Once melted and smooth, your chocolate shell is ready! You can pour it directly into a clean, dry pint jar for storage or use it immediately. This recipe typically yields about one pint, which is perfect for keeping on hand. A half-batch, producing about one cup, is usually enough for 4-6 servings, ideal for a single dessert night.
Beyond the Scoop: Creative Uses for Your Homemade Chocolate Shell
While a classic over-ice-cream pour is undeniably delicious, the versatility of your homemade chocolate shell extends far beyond the humble scoop. Its unique ability to harden upon contact with cold opens up a world of culinary possibilities, allowing you to get truly creative in the kitchen.
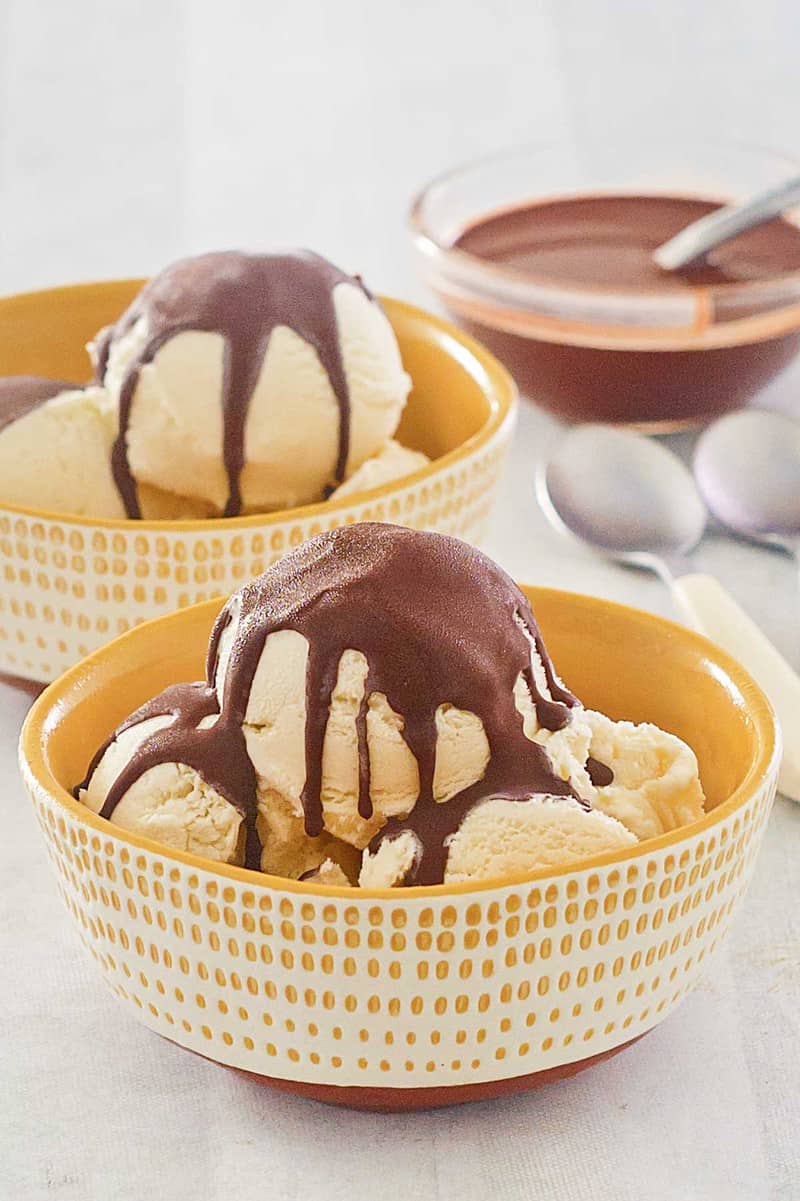
- Ice Cream Sundae Extravaganza: The most obvious, but don't underestimate its power to transform a simple bowl of ice cream into a gourmet creation. Drizzle generously and watch it harden into a delightful, crackable layer.
- Elevate Beverages: Swirl it into a cold milkshake or iced coffee. It will harden into delicious chocolate shards that add texture and flavor as you sip.
- Hand-Dipped Delights: Take your desserts to the next level by hand-dipping. Think homemade ice cream cones, popsicles, or even whole ice cream bars. The chocolate shell provides a protective, crunchy coating, just like your favorite store-bought frozen treats.
- Frozen Fruit Fantasy: Dip slices of banana, strawberries, grapes, or orange segments into the chocolate shell, then place them on parchment paper to set in the freezer for a few minutes. You’ll have instant, elegant chocolate-covered fruit with that satisfying snap.
- Baked Goods Bling: Drizzle over chilled brownies, cookies, or even cupcakes for a stunning visual and textural contrast. The shell will harden, adding a sophisticated crunch.
- DIY Candy Bars: Create your own chocolate-covered candy bars by pouring the shell over a layer of caramel, nuts, or nougat and chilling until firm.
The satisfying snap and rich flavor of your homemade chocolate shell will make any dessert feel special. It's truly like enjoying a premium chocolate-covered bar, but with the added joy of being able to create it yourself, anytime you wish.
Storage Secrets: Keeping Your Chocolate Shell Fresh and Ready
One of the many advantages of this homemade chocolate shell recipe is its excellent shelf stability and ease of storage. With just a few simple tips, you can keep a batch on hand for weeks, ready to deploy its magic whenever a craving strikes.
- Room Temperature is Best: Your chocolate shell is liquid at room temperature and designed to harden only when it hits a cold surface. Therefore, the ideal storage location is your pantry or countertop, away from direct sunlight or excessive heat. Stored this way in an airtight container (like a pint jar), it will remain fresh and pourable for at least a month. This is because coconut oil, being a saturated fat, is very stable and resistant to spoilage.
- Refrigeration Option (with a caveat): While not strictly necessary, you can store your chocolate shell in the refrigerator if you prefer. However, keep in mind that the cold temperature will cause it to solidify completely, becoming quite hard.
- Remelting for Fridge Storage: If you've stored your chocolate shell in the fridge and it's solid, simply microwave it for about 20 seconds (or slightly longer, in short bursts) to bring it back to a pourable liquid consistency before each use. Stir well after heating to ensure even temperature distribution.
- Airtight is Key: Always store your chocolate shell in a clean, airtight jar or container to prevent oxidation and to keep out any moisture or contaminants.
By following these simple storage guidelines, you'll always have a supply of this enchanting topping at your fingertips, ready to transform any cold treat into a delightful, crunchy masterpiece. For more detailed insights into ingredient selection and ensuring long-term freshness, be sure to check out Master Homemade Chocolate Shell: Ingredient & Storage Secrets.
There you have it – the secret to crafting your very own homemade magic chocolate shell. With just two ingredients and a few minutes of your time, you can create a versatile, delicious topping that promises a satisfying snap with every bite. From classic ice cream sundaes to creative fruit dips and elevated beverages, the possibilities are endless. Embrace the simplicity, enjoy the process, and most importantly, savor the delightful magic that this easy chocolate shell recipe brings to your desserts. Get ready to impress your family and friends with this surprisingly simple yet utterly enchanting homemade treat!
